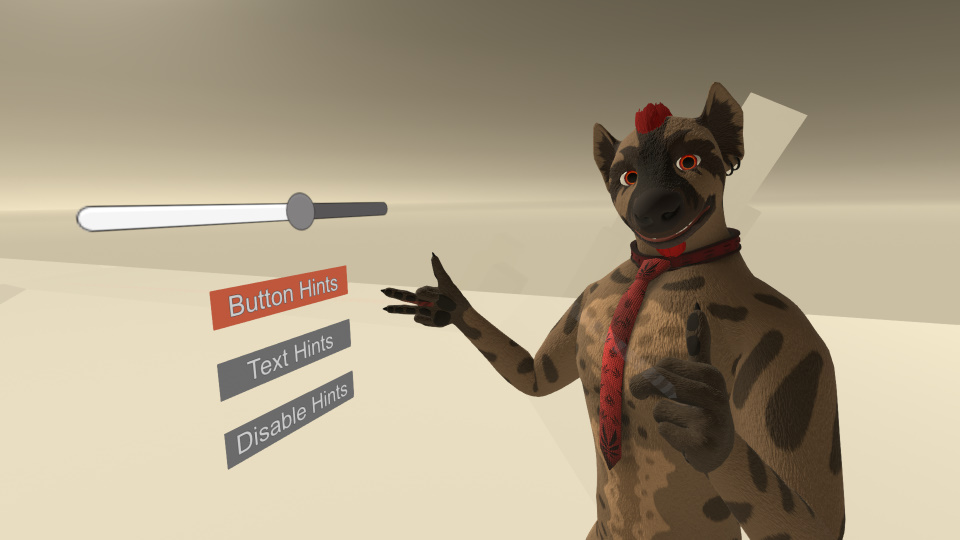
Setup UI in your World for PC and VR user!
You can use the Somnium Space UI interaction system by configuring your UI correctly.
In this tutorial you will learn how to setup and use simple buttons and sliders !
In short
From an UI created in unity, you need to do some changes for it to be used by Somnium Space interaction system:
- Set the UI Canvas to “World Space”.
- Remove the “Graphic Raycaster” component of the “Canvas”.
- Add a collider to each intractable component (button, slider, etc) and set the layer of the collider to “UI”. The collider don’t need to be tick, but you should match the size of the button/slider.
Complete tutorial
Hierarchy
First gameobject need to be a canvas then you simply put the UI component inside.
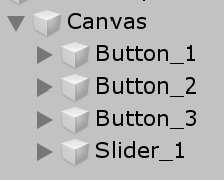
Canvas
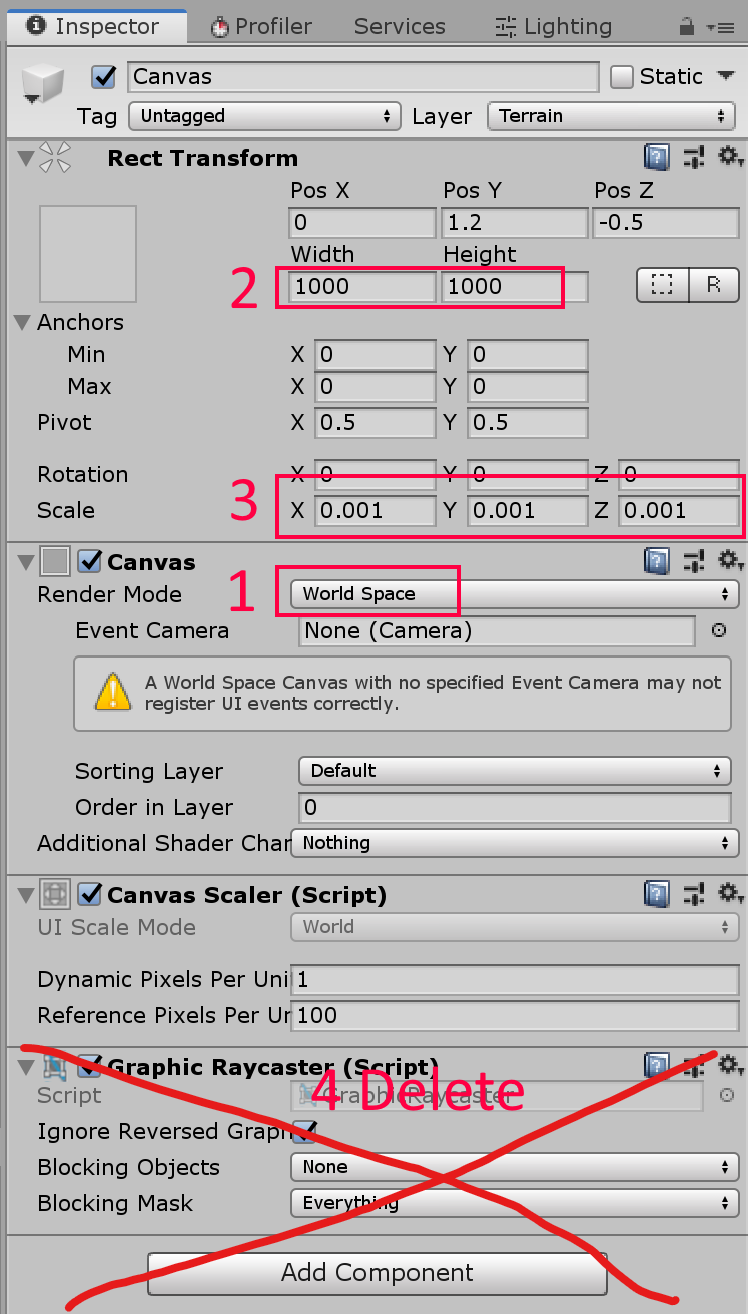
When you create a new canvas from the quick menu (right click) you need to make some changes. First, consider that you will work in “pixel” from now not in meters. (steps are in the wrong order in the picture do 3 first)
- Change the Render Mode to World Space. Then the canvas become 3D.
- Set the width so 1000 pixels width and height (this is just a starting value)
- Set the scale to 0.001 (1/1000) so we will have 1000 pixel per meter for resolution. This is just an easy standard that could be use.
- Delete the Graphic Raycaster component (right click on the component name for this), Somnium use something a little different on his side.
Delete Th Event System
In the top hierarchy of the scene, a GameObject named “EventSystem” have been automatically added. If you leave it there it will interfere with Somnium Space “EventSystem”.
- Delete the “EventSystem” GameObject by right clicking on it.

Setup UI Button
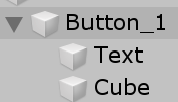
Buttons are made of 3 gameobject:
– the button
– the text
– a collider
Gameobject 1: Button
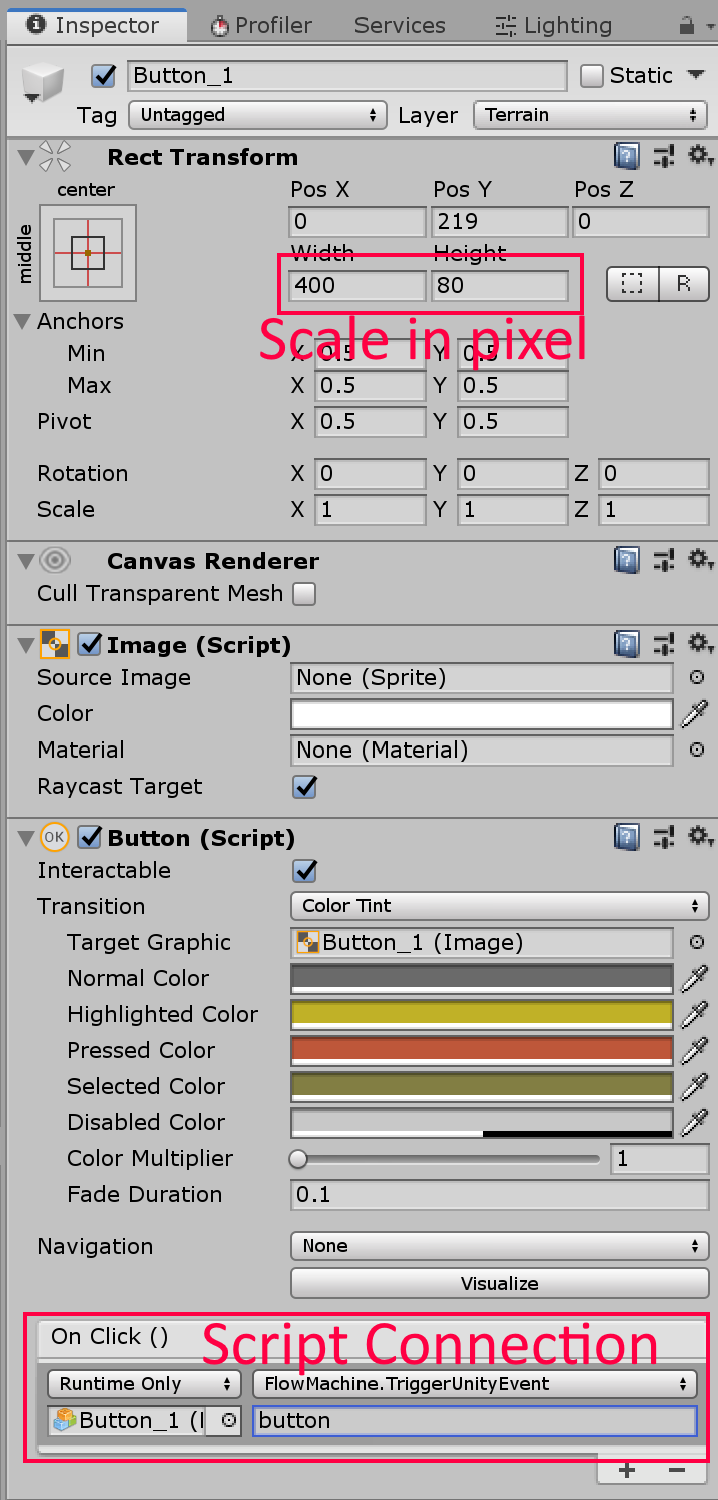
Right click on the Canvas then select -> UI/Button. This button will be almost usable. You just need to correct the size in pixel (remember 1000 pixel is 1 meter)
To link a button to a script, go on the “On Click()” section and add an item. Then drag-and-drop then drag-and-drop the gameobject of the script you want to call. From the right list i selected “FlowMachine.TriggerunityEvent”.
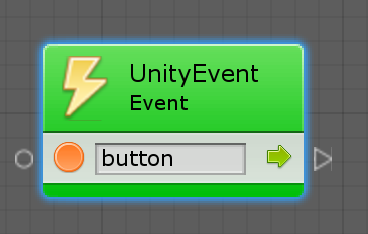
To receive the event on your script, create an unity event node and set same name you put on the button “On Click()” (here we used “button”)
Gameobject 2: Text
There is nothing special to do with the text, it should be already there, you can change it for textmesh-pro (make sure to use TextMesh-Pro 2.0.1).
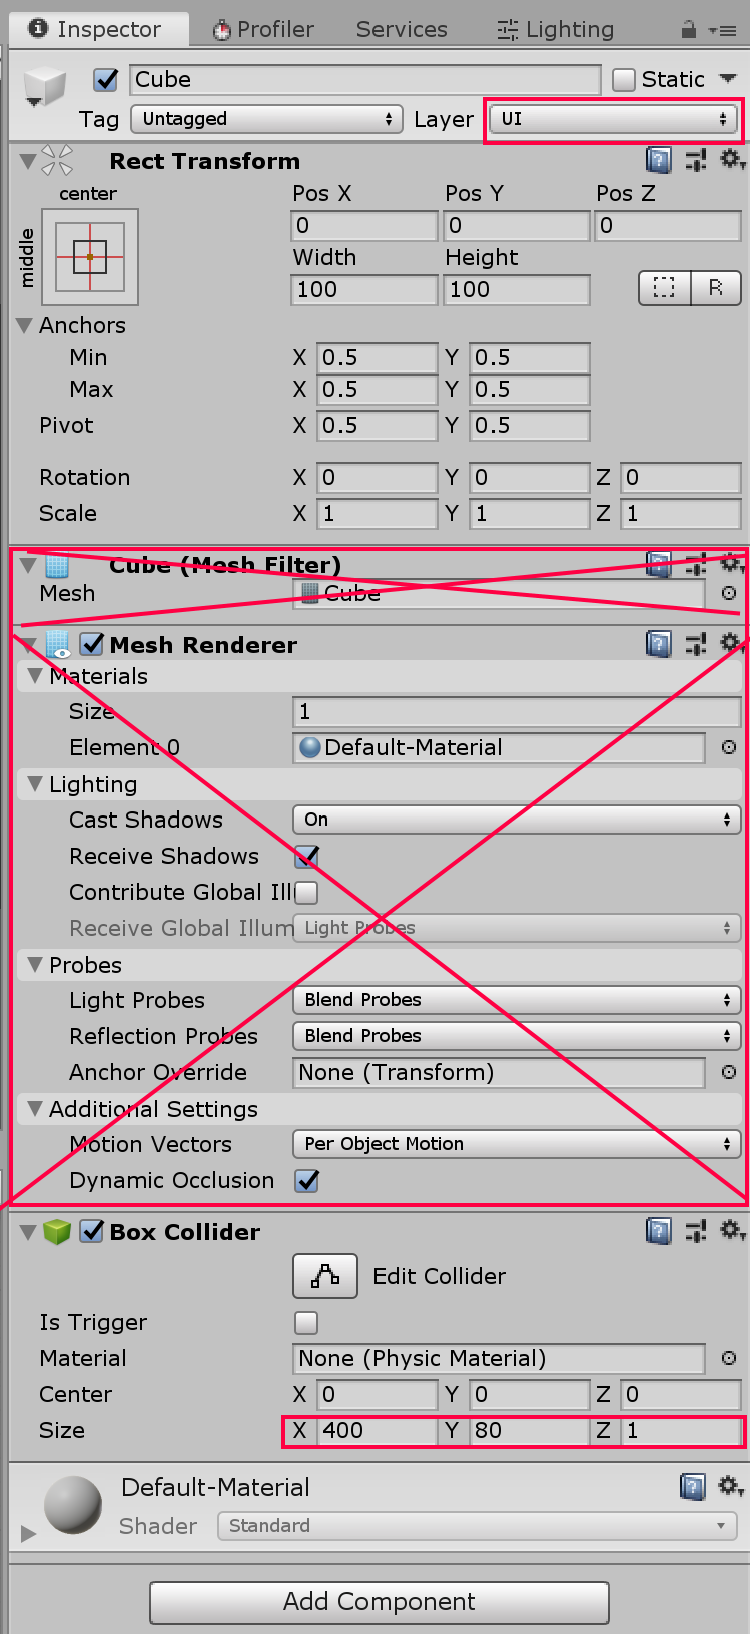
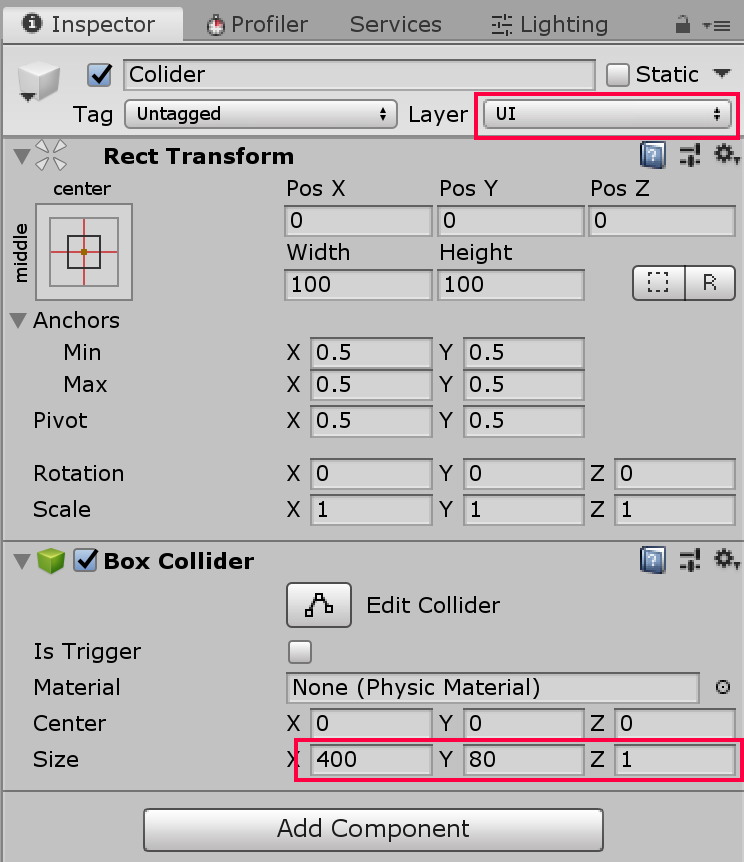
Gameobject 3: Collider
Inside the button we need to add a collider on the UI layer.
- In the hierarchy right click on the button then add a cube “3D Object/Cube”.
- Set the layer to UI from the UI drop down.
- Remove “Cube (Mesh Filter)” and “mesh Renderer”.
- Set the scale of the collider in pixel. (1000 pixel per meter)
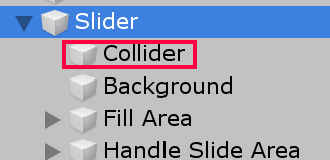
Setup UI Slider
The setup of a slider is similar to the button. You need to add a collider under the Slider Gameobject. Same as the button you need to change the layer and the scale of the collider (also remove the mesh renderer).
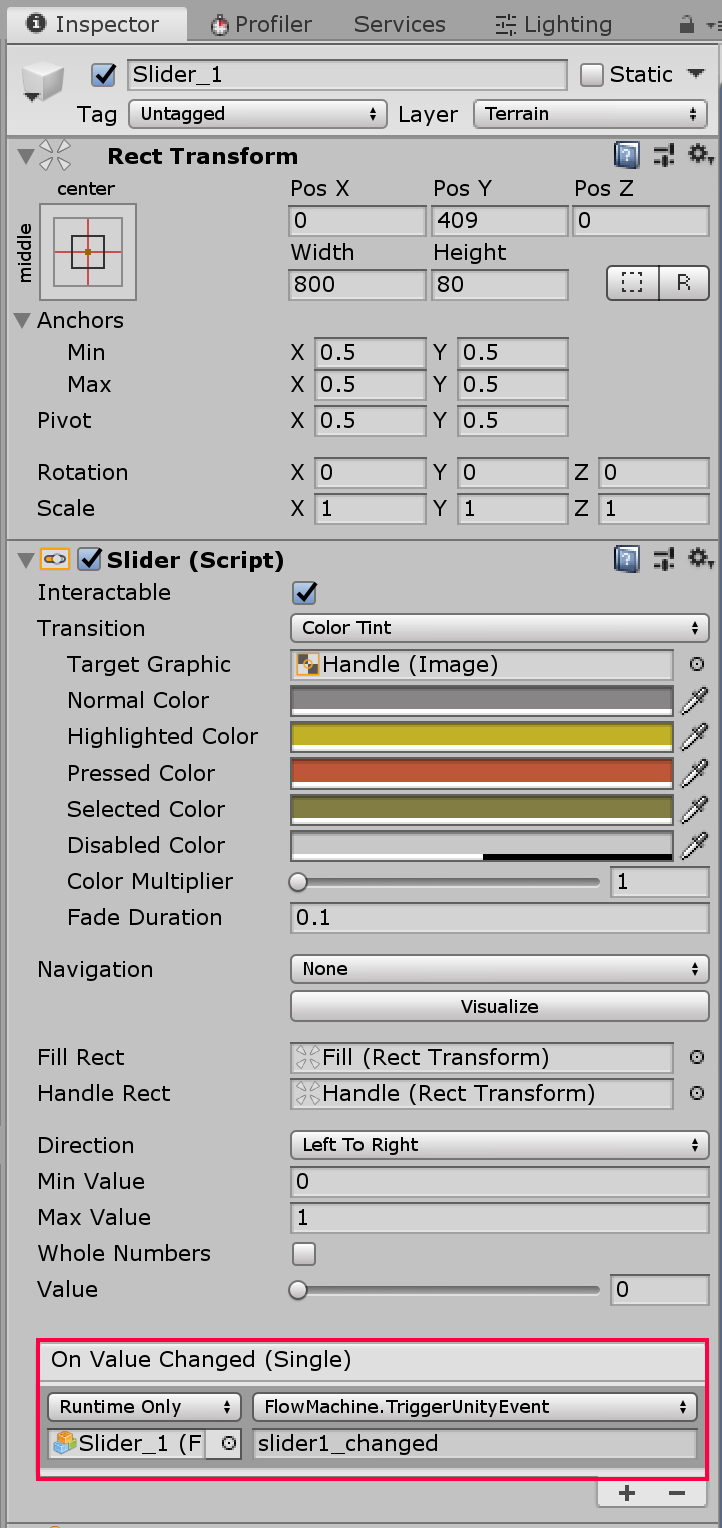
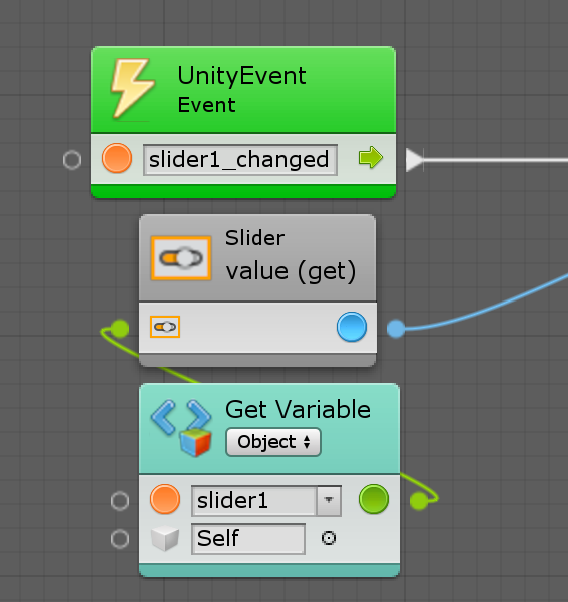
Link a script to the slider
There is a litle difference on the script side. you will need to get the slider value when you receive the “On Value Changed()” event.
- Reference the slider main Gameobject on an object variable.
- use “Slider.value” on your script when you receive the event.